
How to Remove a Sink Stopper – Blockages in house drains are frequent. They are not usually caused by faulty installation or carelessness, although they may be related. Instead, it has to do with the adherence to the walls of the scraps of dishes and grease. But how to unclog a sink? Follow these steps, and you can solve this widespread problem without needing professional help.
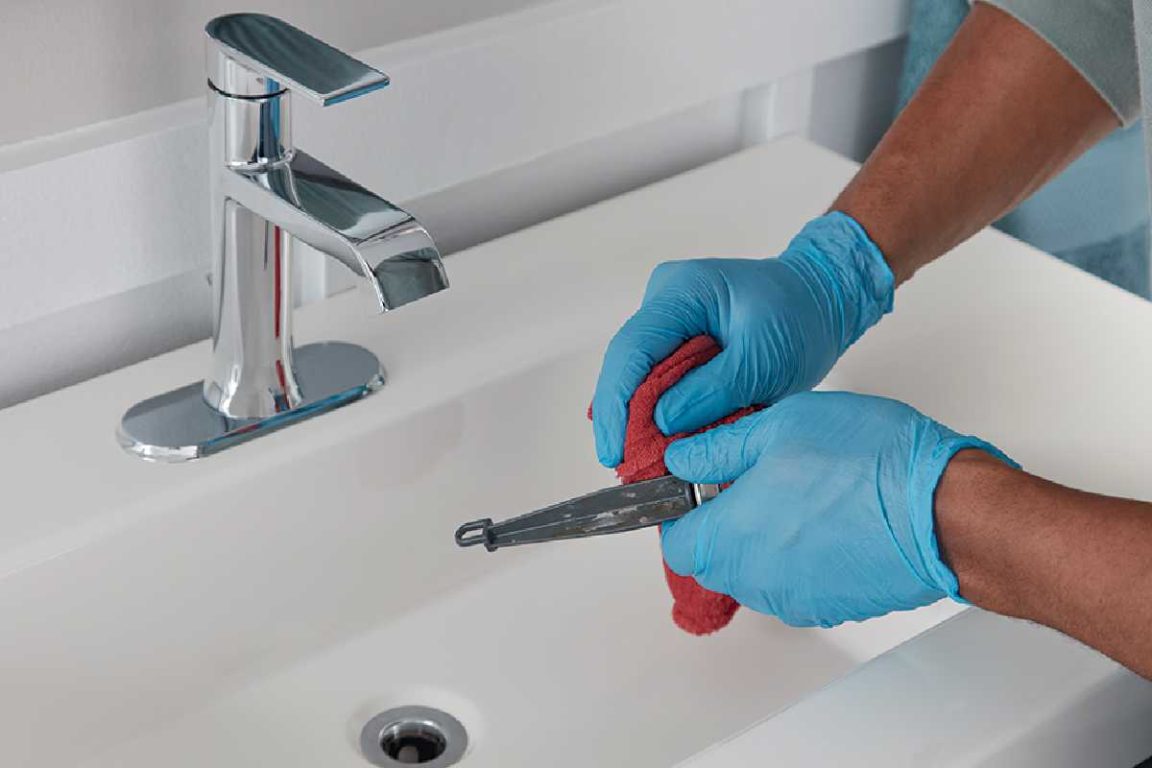
Remove the stopper from the siphon.
Most kitchen sinks have a trap that connects directly to the drain. It is a piece in the shape of a curved tube in a U equipped with a threaded plug in its lower part. Put a bucket under it and try unscrewing that lid. Most jams are cleared in this simple way.
Then, once clean, screw the plug back in place, making sure you put the rubber gasket back on. It is essential that the gasket, which will surely fall into the hub when unscrewing that cap, is not lost.
Use a plunger to understand How to Remove a Sink Stopper
There are different options on the market, ranging from the hand plunger, with a rubber suction cup attached to a stick, to more sophisticated ones, similar to a bicycle pump, which exert a higher vacuum pressure.
For it to work correctly, the vacuum must be complete. That is, you have to cover the overflow with your hand or with a wet cloth. If it is not done as explained, the suction cup effect will not be achieved, and the problem will continue.
Use vinegar and baking soda.
Following the previous steps, it is possible that you have not managed to remove the jam or only partially succeeded. In this case, the next step is to let a mixture of water, vinegar, and bicarbonate act.
Add three tablespoons of baking soda and pour boiling water little by little. Let it act, and add hot water from the tap again. If the clog is not gone, add three tablespoons of baking soda back into the drain and a glass of hot vinegar. Let it act for 15 minutes, and add water as hot as possible from the tap. If it’s already cleared but isn’t running smoothly, repeat the process one more time.
Use a plunger spring.
When the above does not work, there is one more option, use the plunger spring. This tool breaks up the jam so that it is easier to remove. It is used when the mess goes beyond the siphon.
To use it, it is necessary to unscrew the siphon and insert the wire through the drain pipe, turning it so that it cleans the line as it goes. Once the blockage has been eliminated, it is necessary to rinse with plenty of water to stop the remains that have remained adhered to the walls of the tube.
How to prevent a sink from clogging?
To prevent jams from forming, pay attention to the following tips. If you follow them, there will be few or no times that you will have to practice the steps that we have indicated to unclog the sink.
- Use warm or hot water when cleaning greasy pots. Cold water causes the oil to solidify, stick to the walls, or get stuck in the siphon.
- Acquire quality dishwasher degreasers. It will help the grease to go away more quickly, and its foam will clean the remains of the pipes.
- Don’t throw food scraps down the drain. Try to ensure dishes and pots are free of solid debris before scrubbing them.
- Use caps with the grid. These are prepared so that the water leaves clean of remains. These will stay on the rack and be easy to get rid of.
- Let the boiling water run. From time to time, boil water in a pot and let it run down the drain. It will remove the dirt that may have remained, and, in addition, it will eliminate foul odors.
Conclusion
New Digital Hub, The above written article proves you the information related to How to Remove a Sink Stopper, we not only like to provide our customers with a wide variety of kitchen and bathroom products, but we also want to share tips like these so that the experience with any of our products is complete.